Camera Angles and Their Impact on Product Photography: A Guide for Brands
Do you know that not all products look their best from every angle? Just like people say, “This isn’t my best angle,” the same applies to products. Each product has a specific angle that makes it shine, and knowing which works better is key to presenting your brand in the best way possible.
A good product photographer understands which angles highlight the unique features of your product and, just as importantly, which ones to avoid. The goal of this blog post is to share my insights and shine a light on this subject so that the next time you are considering hiring a photographer, you will know exactly what to ask for to ensure your product is captured in the most flattering way.
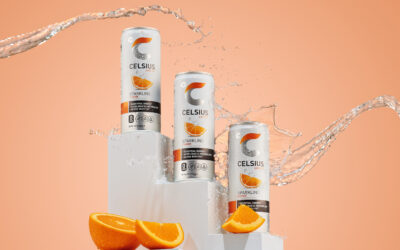
The photos below are from a recent photoshoot I did for one of my clients, Aminolean. For this project, the goal was to introduce their audience to a new energy drink. It was important to showcase the product from different angles. By doing this, we were able to provide a variety of shots that met the client’s needs. This project is an excellent example for discussing the importance of choosing the right angles for product photos.
Let’s dive into the top 5 camera angles that can make your products stand out—or fall flat. By understanding these angles, you’ll ensure you get the photos your products deserves!
1. Straight-On Angle (Eye Level)
The straight-on angle makes a product feel approachable and easy to understand. This angle mirrors how we naturally see objects in front of us, creating an instant connection with the audience by helping the viewer feel like they can reach out and grab what they are seeing. By photographing a product from eye level, customers can immediately grasp what it is and what makes it unique. It’s a simple yet powerful way to present a product without distractions.
This angle is perfect for products with standout designs or key front-facing details. It’s ideal for items like bottles or layered foods such as sandwiches and burgers, where highlighting the structure is essential. However, this angle is less effective for flatter items like pizzas, trays of food, or products without much height. In these cases, an overhead or angled shot works better.
When to use it: Choose the straight-on angle when your product’s front-facing features are key to its appeal. It’s ideal for packaged goods, food items with height, or anything where clarity and approachability are essential.
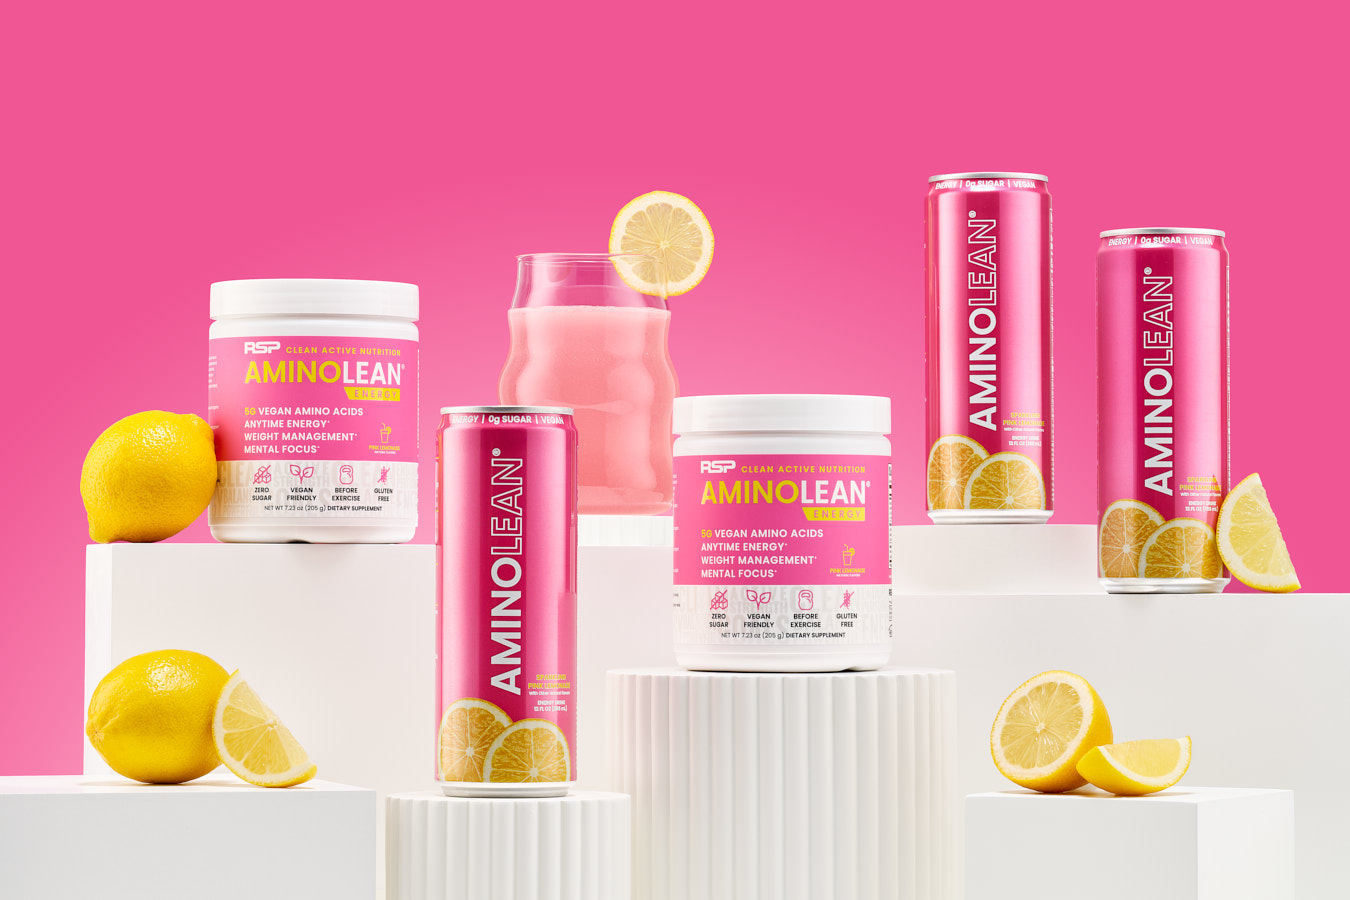
Product Photography for Aminolean, using the straight-on angle.
2. Overhead Angle (Bird’s Eye View)
The overhead angle, also known as flat lay, allows viewers to see everything in a scene from above (the bird’s eye view).
This angle is ideal for organizing multiple elements into a single image, making flat lays perfect images for lifestyle content, recipe displays, and product bundles. This angle also works well when you need to present a set of products in an organized way.
It’s an angle used often in food photography, especially for flat dishes like pizzas or platters with the details on the top. It is an angle I usually use for stop-motion videos, where multiple products or ingredients need to be animated. It allows to tell a story or demonstrate a process (like unboxing a product or making a recipe) without needing to switch camera angles, which helps keep the animation clean and easy to follow for the viewer.
When to Use It: Perfect when photographing food and products with details on the top. It’s not ideal for products with high height or layers.
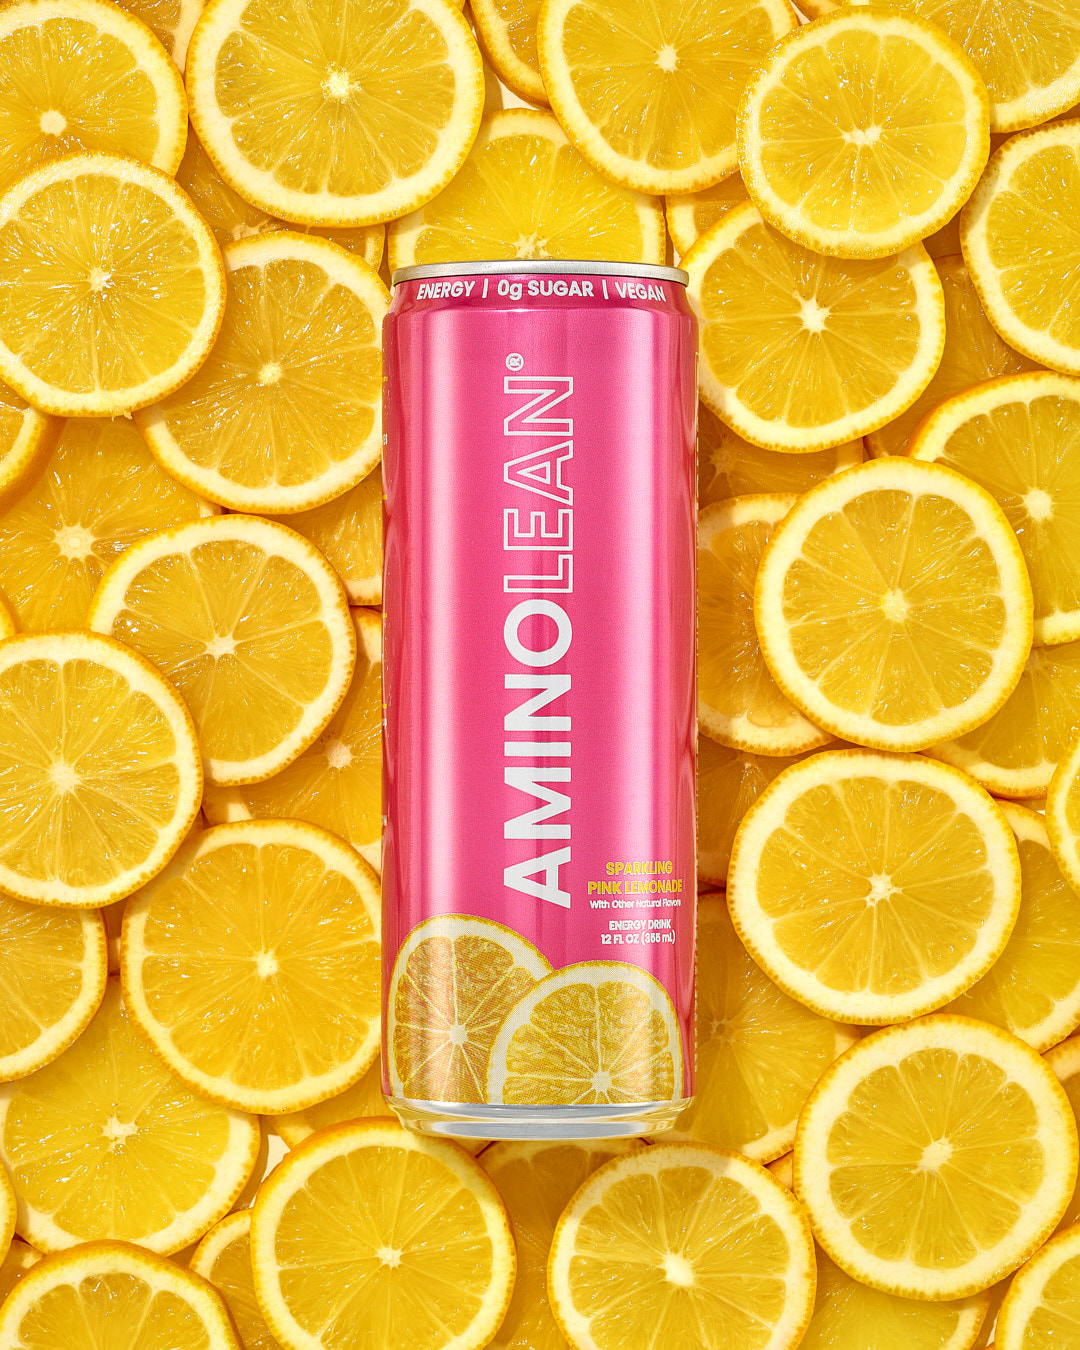
Flat Lay for Aminolean Energy Drink
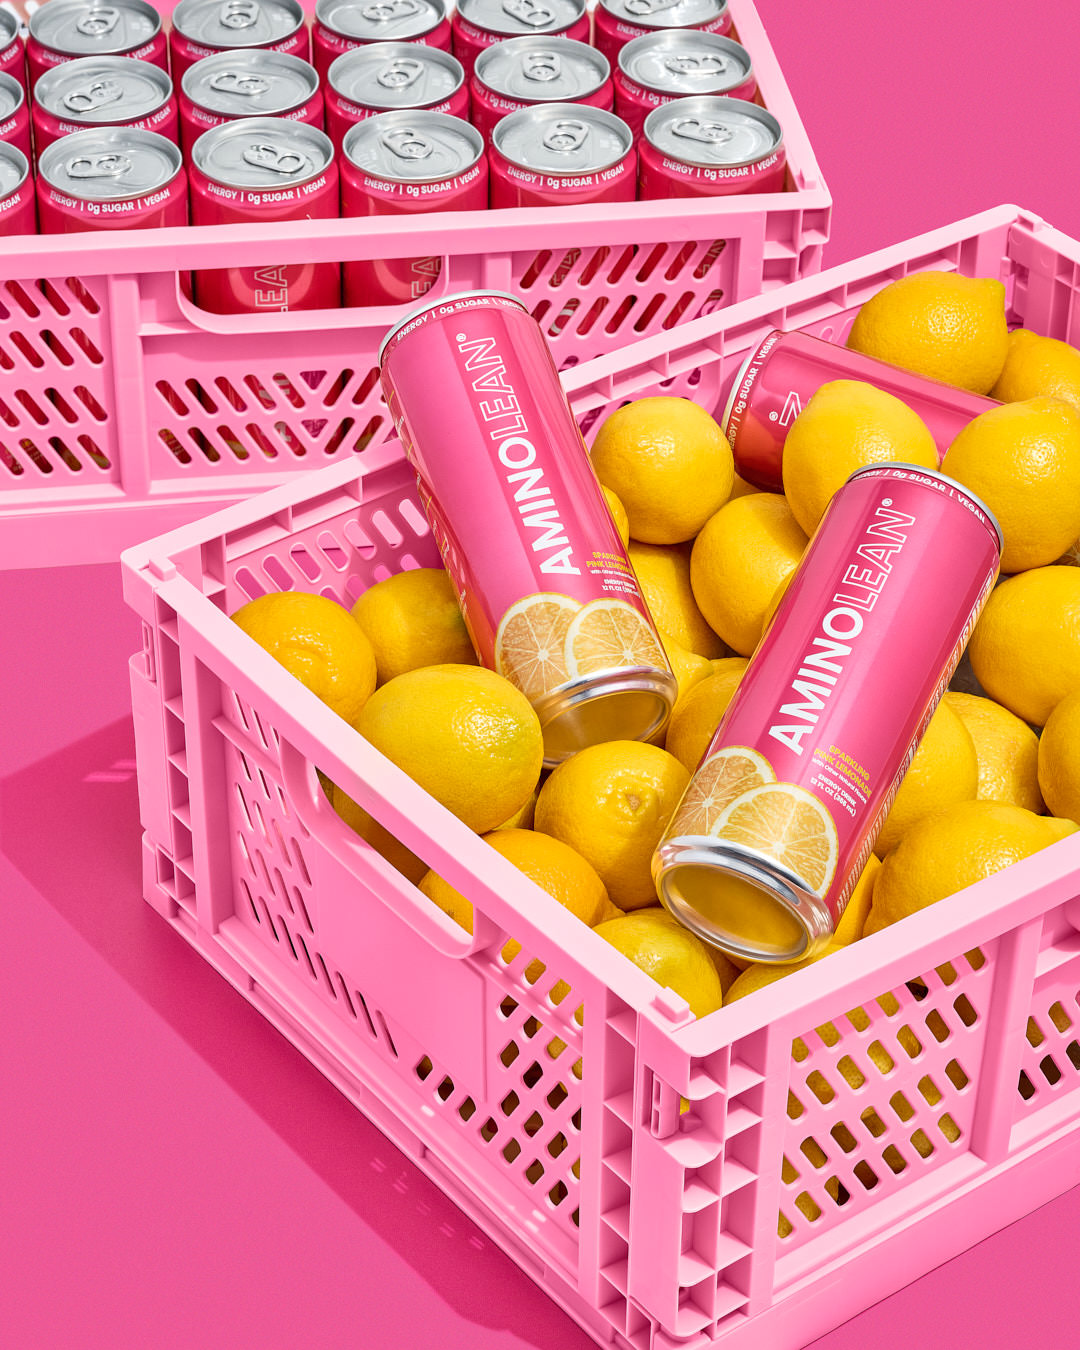
45-Degree Angle shot for Aminolean Energy Drink
3. 45-Degree Angle
The 45-degree angle gives a fuller view than a straight-on shot, capturing not only the front but also the sides or top of the product. This makes it perfect for showcasing more details, such as packaging design, texture, or shape, that might be missed with other angles.
One reason the 45-degree angle is so popular in both food and product photography is that it mimics the natural way we view objects in everyday life. When sitting at a table or interacting with products, we often see them from this angle, which makes it feel familiar and approachable. For food, it’s the view you’d have while sitting at the table. For products, it gives viewers a sense of how that product would look in a real-world setting, which is why this angle is frequently used in catalogs, e-commerce, and lifestyle photography.
When to use it: This angle is ideal for products with details on both the front and the sides or top, such as packaged goods, cosmetics, beverages, or layered food like burgers.
2. Low Angle (Hero Shot)
The low angle has become my favorite angle to shoot products. Often called the “hero” shot, it makes the product look powerful and heroic. By shooting from slightly below, this angle gives the viewer a perspective that makes the product appear taller and more impressive; it creates a sense of importance and authority, which is why it’s commonly used to highlight premium or luxury items.
This angle is especially effective when we want to emphasize height or make a statement. Whether we’re photographing a bottle of wine, a burger, or a perfume, the low angle makes the product appear more prominent and more dominant. It draws the viewer’s eye upwards, giving the product a sense of prestige and making it feel like something worth admiring. This is why it works so well in advertising, where the main goal is to make the product the star of the show.
When to Use It: It’s ideal to make a product feel more significant and stand out boldly. This angle works well in ads, packaging, or any context where you want the product to appear heroic. Use it for product photos of items that deserve to stand out and be noticed.
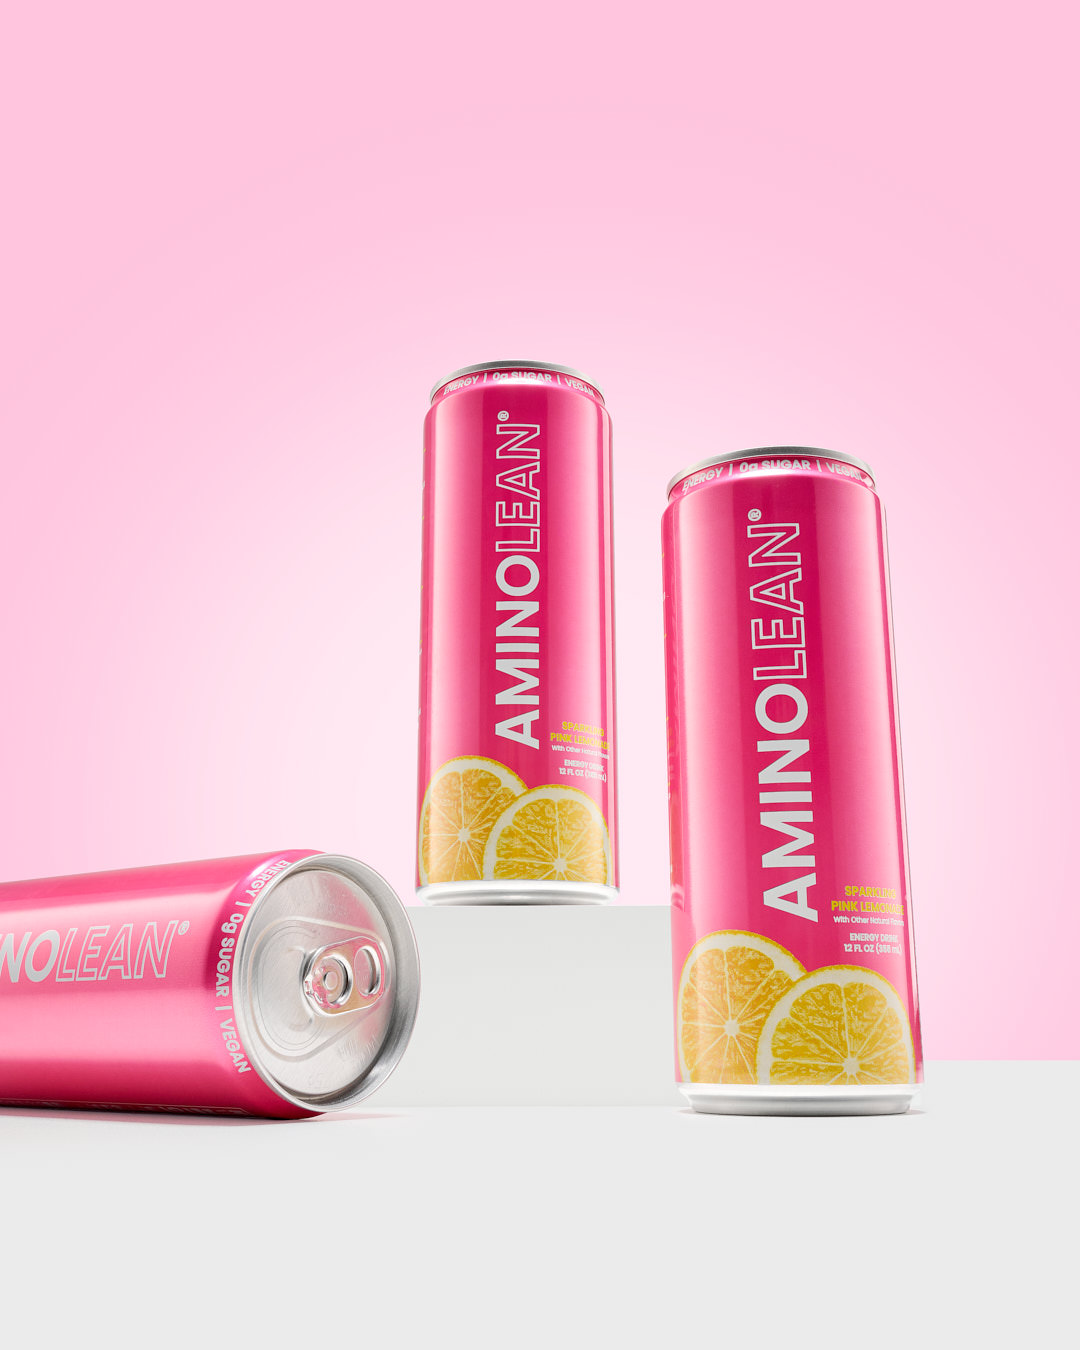
Hero Shot of Aminolean Energy Drink
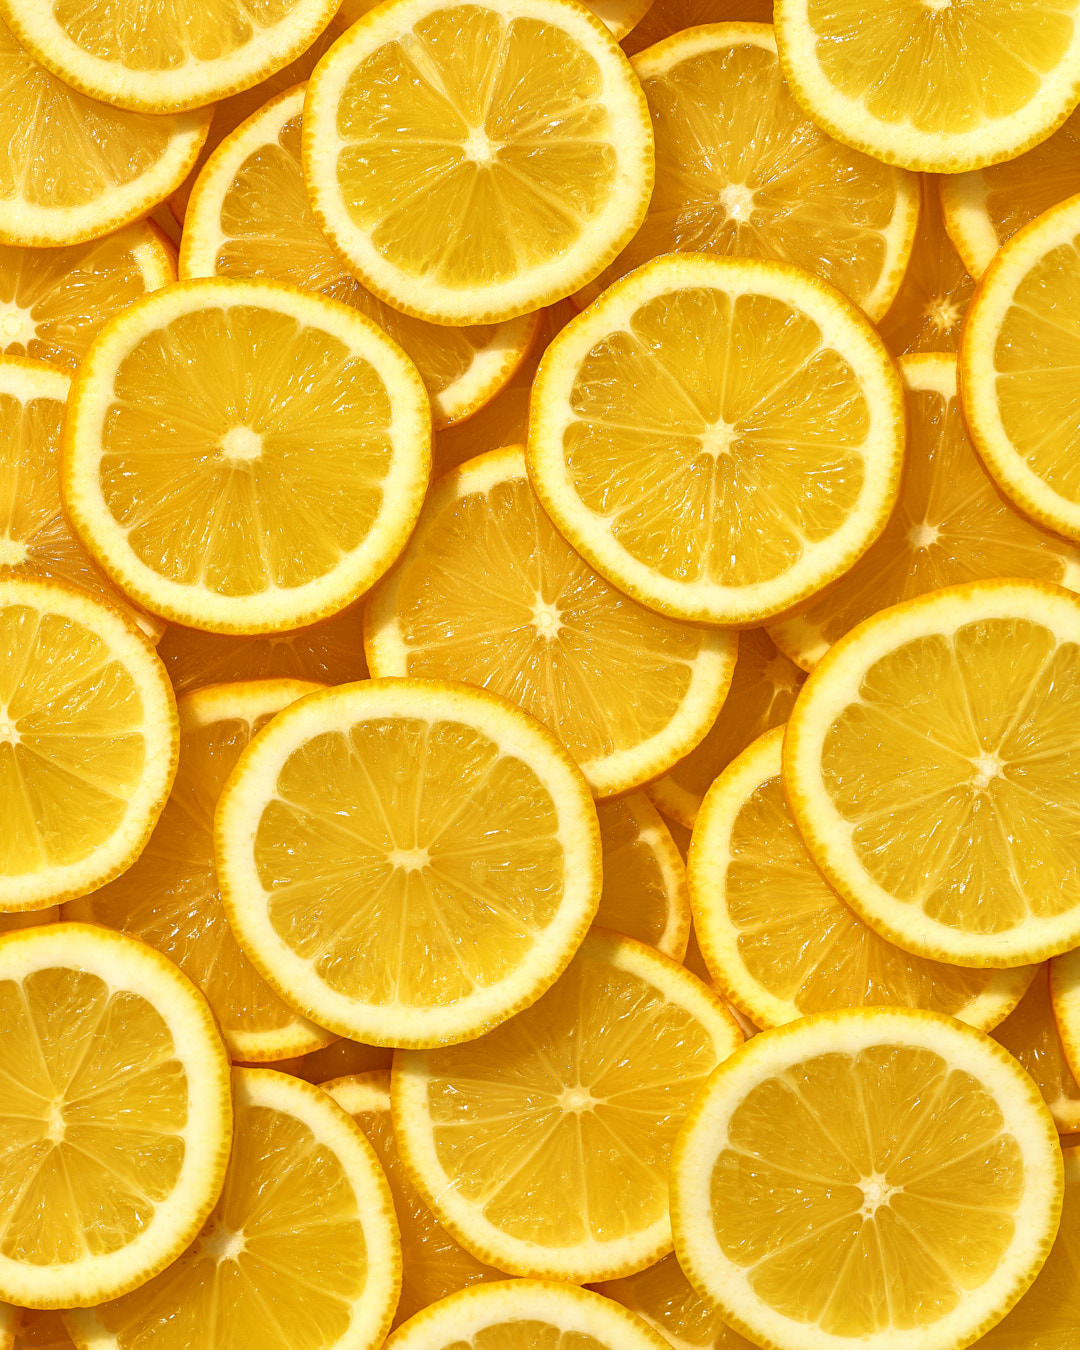
Example of Macro Shot or Close-Up
3. Close-Up (Macro Shot)
This angle allows us to zoom in to show fine details and textures we usually can’t see with the naked eye.
While macro shots are powerful, they work best when combined with wider shots. A close-up image on its own can sometimes leave the viewer unsure of what they’re looking at, especially if the texture or detail isn’t something familiar. However, when paired with product photos from other angles that show the full product or setting, the macro shot enhances the story. For instance, showing a wide shot of a beautifully designed whiskey bottle followed by a close-up of the embossing on the label or the texture of the glass bottle conveys the sophistication and craftsmanship behind the product. This provides the viewer with a deeper appreciation of its quality and exclusivity.
When to use it: Use close-up shots when the details matter, whether it’s texture, design, or fine details. This angle works best for products like food, jewelry, cosmetics, and anything where a closer look would reveal the product’s quality and uniqueness.
Why These Angles Matter
As a brand or business owner, you may not have realized how much thought goes into choosing the right angle for your product photos. Every decision a photographer makes—whether using a straight-on shot, a 45-degree angle, or a macro close-up—serves a purpose in showcasing your product’s best features and creating a connection with your audience. My goal with this post was to shine a light on this process and help you understand that there’s both an art and a craft in every choice we make when photographing your products.
To ensure that your products are photographed at their best and that you don’t waste time or money, it’s essential to be an informed buyer. Providing clear information about what you want and need to your photographer will make the process smoother. By sharing your vision and expectations upfront, you’ll help the photographer better understand which aspects of your product should be highlighted. A basic understanding of these angles is important as it will help you communicate your needs effectively, avoiding any reshoots and ultimately saving you time, energy, and money.
I know this might feel like a lot of new information, and it can sound overwhelming, especially when you already have so many things on your plate while trying to grow your brand. But here’s the good news: I’m here to help. At Arce Creative Studio, my mission is to take that weight off your shoulders so you can focus on your business while I make sure your products are given the care they deserve.
Let me find the perfect angles to make your products stand out and resonate with your customers. Contact me today, and let’s create content that elevates your brand. Sit back and relax. I’ll handle the photography and ensure your products look their absolute best.
Learn how to choose the right angles for your product photos to showcase your brand and attract more customers.
Create professional stop-motion videos with these 10 tips, perfect for photographer and brands looking to elevate their content.
Looking for a product photographer for your next photoshoot? Read on to learn 10 key questions to ask before hiring one to ensure a seamless experience and excellent results.
Have you ever wondered why professional photography is so expensive? Discover why professional product photography is a worthwhile investment. Learn about the costs and value it brings to your business.
Investing in professional product photography is essential for brands. High-quality photos should be integrated into digital marketing campaigns, content marketing, social media strategy, and more. Learn how to make the most of your investment with these 10 strategies.
Discover the impact of high-quality product photographs on your online business. Elevate your e-commerce brand with professional photography.
Learn four tips that will help you find the perfect product photographer for your brand. Define your needs, set a budget, review portfolios, and ask key questions.

